
Real light leaks
Light leaks. I love them! Light leaks occur simply because ‘unwanted’ light is leaking into the body of the camera and slowly exposing the film. When you’re using a toy or Lomo film camera they provide you with a real sense of adventure – pacing up and down waiting for the film processing to happen – you never really know wheat yo’re going to get!
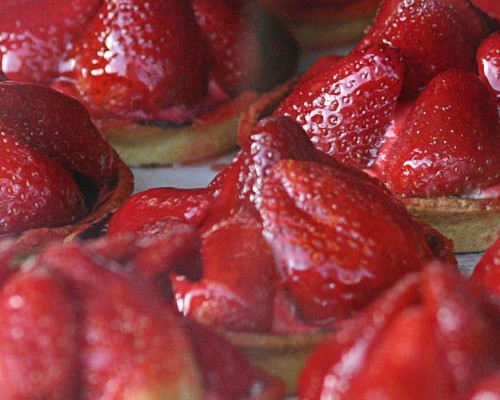
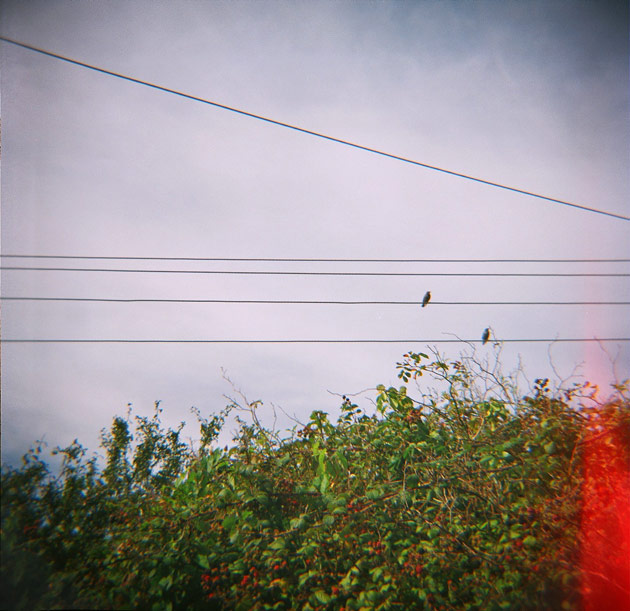 This was taken with a Diana-F+ and 120 film
Adding light leaks with Photoshop
There are loads of different ways of using Photoshop to create pretend light leaks – I have to say though that for the most part they normally look a bit heavy-handed and obvious. I was determined to find a shareable way of creating something that looked realistic and would truly enhance a digital image. A subtle hand is the key (even though real light leaks can appear pretty drastic at times), that and Photoshop brushes.
First you’ll need to download and install these light leak brushes:
[button size=”large” bgColor=”#6eb5c7″ link=”http://www.angiemuldowney.com/wp-content/uploads/2013/01/light-leaks-brushes.zip”]Light leak brushes for Photoshop[/button]
(Here’s a quick guide on how to install brushes into Photoshop).
Once installed, here’s how to use them:
- Open your image – resized to your required dimensions (keep these measurements jotted down).
- Click the Brush tool, choose a light leak and adjust the size of the brush to match the dimension of the image.
- Important – make sure you are working on a new layer! (Go to Window > Layers then at the bottom of the layers palette click on the little icon that looks like a new page with the corner turned down).
- Pick a colour swatch for your light leak – anything from a pale salmon to a bright red will work.
- Position the brush where you’d like the light leak to appear and click once with your mouse. Don’t drag – you’re using the brush more like a rubber-stamp here.
- On the layers palette choose a blend mode to get a more realistic effect – try ‘Screen’ or ‘Lighten’ – it will all depend on the image you’re working with.
- If you want a softer effect simply reduce the transparency of the layers panel.
- If you want a stronger effect then right-click on the light leak in the layers palette and choose ‘duplicate layer’.
That’s it!
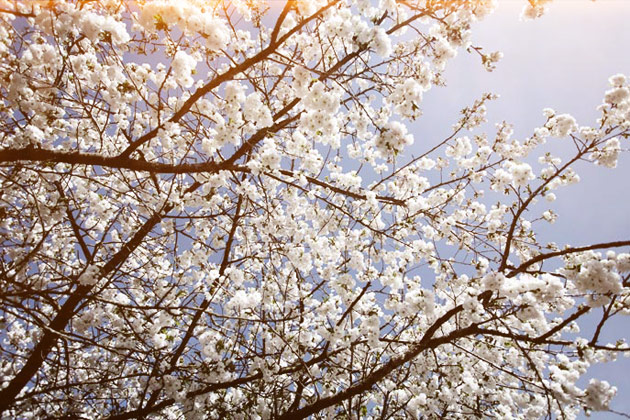
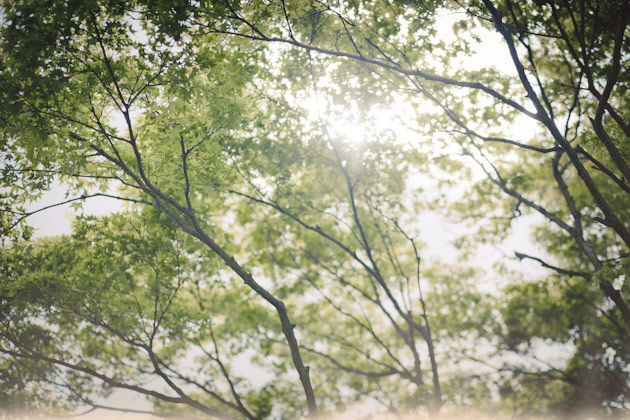
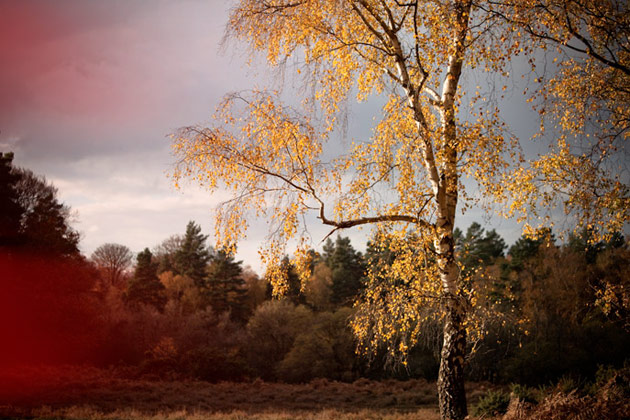
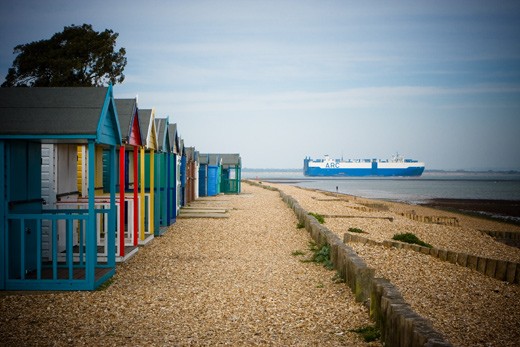
Here are some examples of it in use…

5 Comments
Amy
31 January 2013 at 10:01Sweet! Looking forward to trying this out.
amelia
31 January 2013 at 16:12Waaah! I’ve been trying to achieve the light leak look for months – i’ve tried Googling and Youtube and i’ve been fumbling around Photoshop clumsily trying to work out how to do it. I’ve managed a sort of light leak using Gradient in the New Fill Layer, but your brushes are exactly what i was looking for. You’re incredible for sharing, thank you so much!
Jon
31 January 2013 at 16:16Thanks for sharing another great brush! I started following your blog a few months ago and have really been enjoying your photos and I have downloaded several of the brushes you created. I think it is great that we are taking our perfect images from our digital cameras and adding some ‘imperfection’ to them like we would get from some great, classic film cameras. My wife has been loving the look that your brush sets add to some of our family photos. Keep them coming and thanks for your great posts!!!
Becky Sue
1 February 2013 at 01:10Yes, can’t wait to give it a go. Thanks so much!
Sole
2 February 2013 at 18:54This is awesome! thank you for sharing! kisses!