When the photography bug bites and there’s no daylight to play with, I like to fire up my faithful friend, Photoshop and have bit of a fiddle……
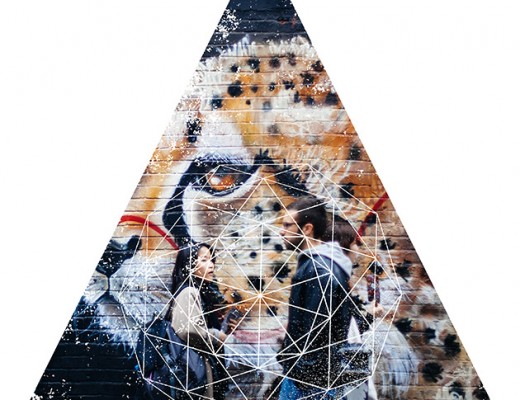

When the photography bug bites and there’s no daylight to play with, I like to fire up my faithful friend, Photoshop and have bit of a fiddle……
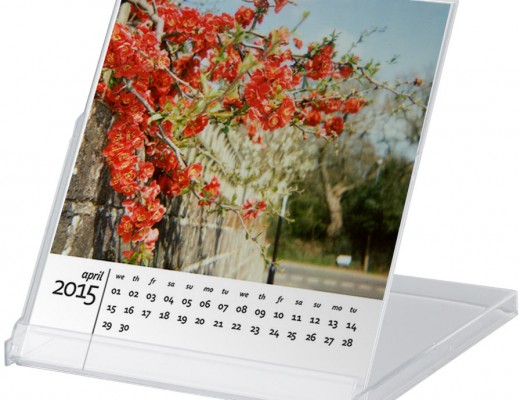
It’s that time of year again, time to start planning how you’ll wow your family and friends during the festive period – how about with a calendar made up of your own lovely photos and Instagrams? This free template…
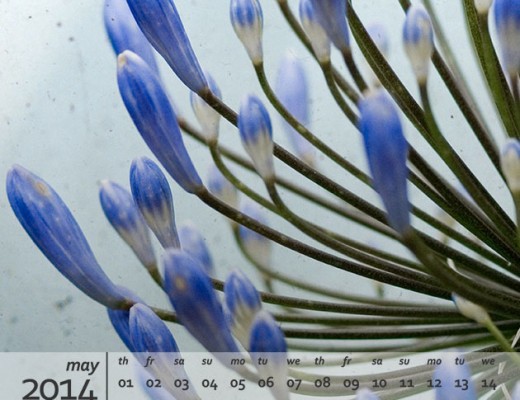
UPDATE: the 2015 template is now available! Here’s something to do on those rapidly approaching cool autumn evenings – fire up Photoshop (any version will do, including Elements) and create a calendar with all those lovely photos you’ve taken…
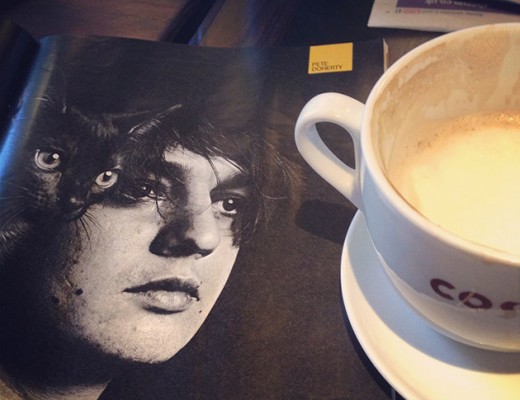
Great news, you don’t have to sell that kidney! Soon, for the price of a fancy coffee each week you too will be able to have full access to Photoshop and Lightroom. Legally! Normally you’d pay £46.88 ($49.99) a…

There’s a certain day celebrating a certain lovey-dovey Saint coming up soon – and whilst I’m not one for ‘Hallmark Holidays’ I’m more than happy to get on board to celebrate love (just not with overly-priced cards/flowers/perfume/chocolates… OK, maybe…
Real light leaks Light leaks. I love them! Light leaks occur simply because ‘unwanted’ light is leaking into the body of the camera and slowly exposing the film. When you’re using a toy or Lomo film camera they provide…
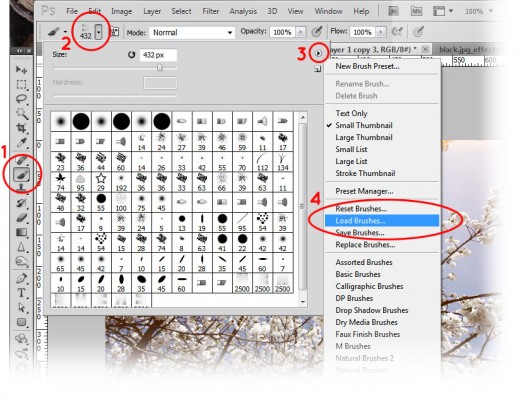
If you’re downloading brushes then make a note of where you’ve put them – they don’t have to go anywhere in particular but remember where you’ve put them. In Photoshop: Click on the Brushes tool In the top options…
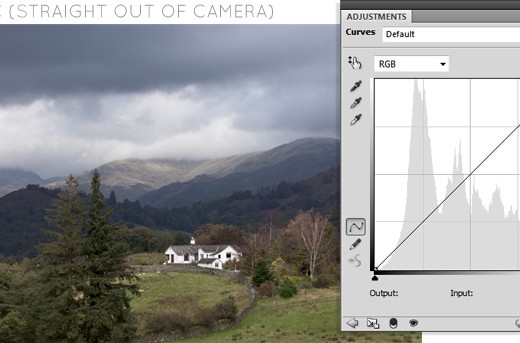
A standard tool in photo editing software is the ability to effect contrast, tone and colour by playing with the ‘Curves’ setting – they’re a quick and versatile way of editing photos and best of all they’re a doddle…
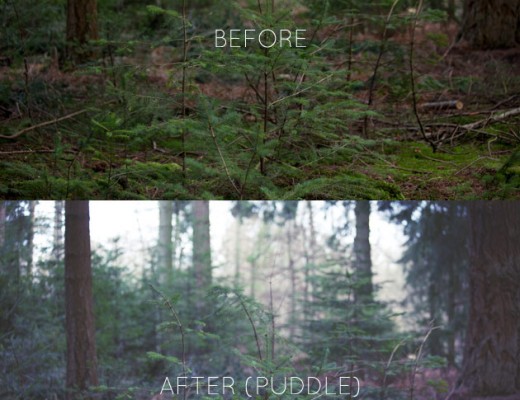
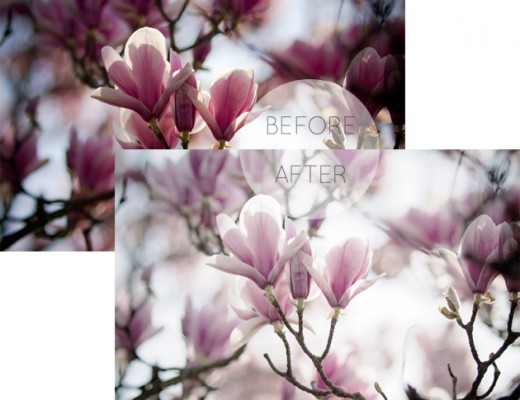
Here’s a set of Photoshop actions which are particularly good at rescuing photos that are a bit flat and uninspiring or under exposed (i.e. 96% of the photos I’ve managed to take so far in January)! As always the changes happen…
In my corner of the world it is very cold right now. The mornings look really pretty though; frosty and bright, which has inspired this little Photoshop action. It pares back all the alpha channels and neutral tones and…